Table of Contents
ToggleValentine’s Day doesn’t have to mean pink hearts plastered across every surface. Whether you’re aiming for cozy farmhouse vibes or crisp modern minimalism, the right wall decor can shift the mood of your space without feeling over-the-top or juvenile. The beauty of Valentine’s wall decor lies in its versatility, it works in living rooms, bedrooms, entryways, or even kitchens, and most projects require minimal tools and zero structural changes. This guide covers fifteen practical ideas, the materials you’ll need, and smart placement strategies to make February feel intentional without committing to permanent changes.
Key Takeaways
- Valentine’s wall decor transforms any space at eye level without permanent changes, making it ideal for renters and DIY beginners who want seasonal flexibility.
- Fifteen DIY projects span farmhouse, minimalist, and modern styles—from reclaimed wood hearts to LED neon signs—using basic hand tools and affordable materials from hardware stores.
- Successful Valentine’s wall art placement varies by room: center large pieces 57-60 inches from the floor in living rooms, position at eye level (60 inches) in entryways, and mount 4-6 inches above bedroom mattress tops for visual harmony.
- Smart material choices like adhesive hooks, toggle bolts for drywall, and removable vinyl decals ensure Valentine’s wall decor adapts to your wall type and causes zero damage when removed.
- Layering Valentine’s wall accents with existing décor and using strategic spacing (2-4 inches between frames) creates a polished, intentional look that complements any home style without feeling over-the-top.
Why Valentine’s Wall Decor Makes a Statement in Your Home
Unlike centerpieces or mantel arrangements, wall decor operates at eye level and fills vertical space that often goes unused. It anchors a room’s theme without cluttering counters or requiring furniture rearrangement.
Valentine’s wall art and accents offer a low-commitment way to experiment with color palettes. Soft pinks, deep reds, and cream tones can warm up neutral spaces during the coldest weeks of winter. If you’re testing whether warmer hues work in your home, temporary wall decor provides a trial run before committing to paint or permanent fixtures.
Wall-mounted decor also scales easily. A single framed print works in a powder room: a gallery wall spanning 4-6 feet suits a dining room or hallway. You control the footprint and intensity, making it adaptable to rental restrictions, small spaces, or minimalist preferences.
Finally, most Valentine’s wall projects skip the permit process entirely. You’re working with adhesive hooks, nails, or picture-hanging wire, no drywall removal, no electrical work, no inspections. That makes it accessible even for first-time DIYers.
DIY Valentine’s Wall Decor Ideas You Can Make Today
Most Valentine’s wall projects require basic hand tools and materials available at any big-box store or online. Here are fifteen ideas broken into style categories.
Farmhouse-Style Valentine’s Wall Decor for Rustic Charm
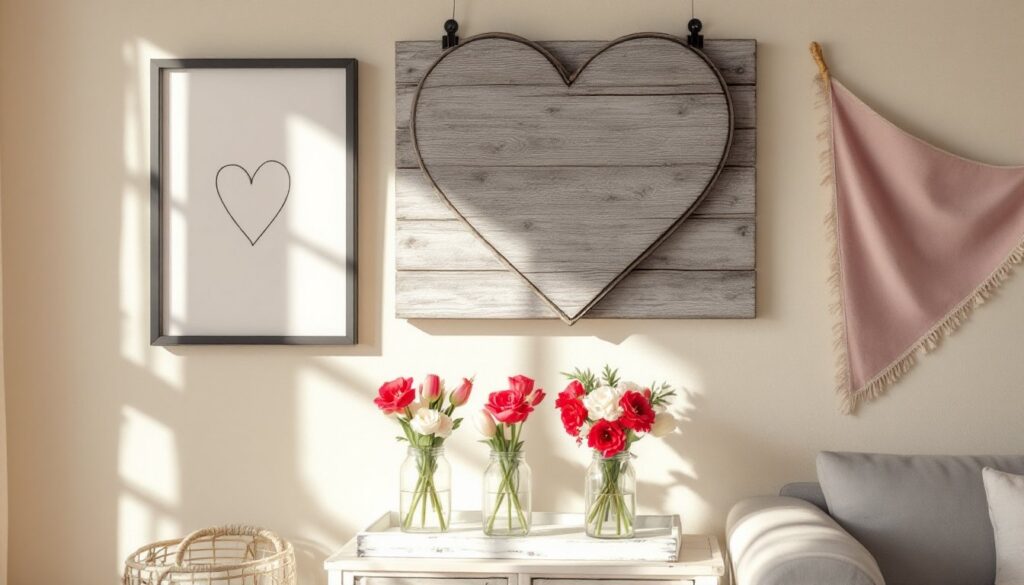
1. Reclaimed Wood Heart Sign
Cut a heart shape from 1×6 pine boards (actual dimensions: ¾” x 5½”). Use a jigsaw for the outline, sand with 120-grit paper, then stain with weathered oak or leave natural. Mount with two D-ring hangers on the back. Pair with stenciled phrases like “Love Grows Here” using acrylic craft paint.
2. Burlap and Lace Banner
Cut burlap fabric into triangular pennants (7″ base, 9″ height). Hem raw edges with a straight stitch or apply fray check to prevent unraveling. Layer lace trim along the top edge, then attach to ⅜” jute rope with hot glue. Hang using adhesive hooks rated for at least 3 lbs.
3. Galvanized Metal Letter Board
Mount a vintage-style galvanized sign holder (12″x16″ works well) and swap in Valentine’s messages using peel-and-stick vinyl letters or a paint pen. This reusable approach transitions easily to other seasons.
4. Faux Shiplap Heart Backdrop
Cut ¼” plywood into a 24″ heart shape. Rip 1×2 furring strips (actual: ¾”x1½”) into 18″ lengths and attach horizontally with wood glue and 1″ brad nails, leaving ⅛” gaps. Paint with flat white or distressed chalk paint. Hang with a sawtooth hanger screwed into a stud or use a toggle bolt for drywall.
5. Mason Jar Wall Vase Trio
Screw pipe clamps or hose clamps to a painted 1×8 board (actual: ¾”x7¼”). Insert pint-sized mason jars and fill with faux or fresh florals, red ranunculus, white tulips, or eucalyptus. Mount the board with two 3″ wood screws into wall studs for load support.
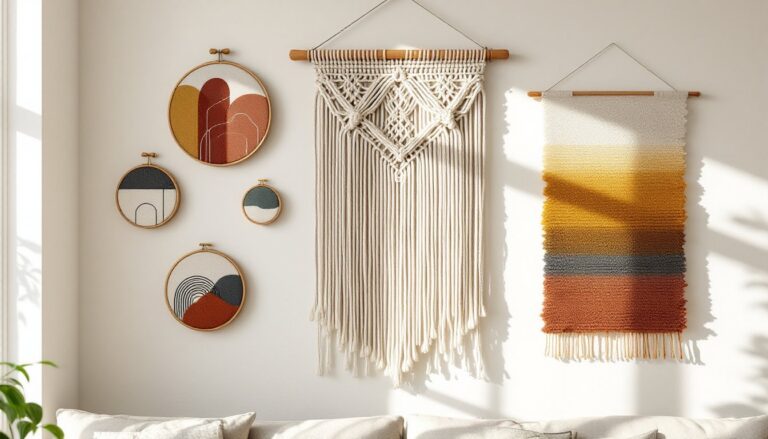
Modern and Minimalist Valentine’s Wall Accents
6. Monochrome Line Art Prints
Download or create simple line drawings of hearts, lips, or abstract figures. Print on 110 lb cardstock using a laser printer for crisp edges. Frame in slim ½” aluminum or black wood frames and arrange in a grid with equal spacing (2″ between frames looks clean).
7. Acrylic Floating Shelf Display
Install a 12″ clear acrylic floating shelf (½” thick) using hidden bracket hardware. Style with a single sculptural object, a ceramic heart, a geometric candle holder, or a small potted succulent in a red ceramic pot.
8. Wire Word Art
Shape 16-gauge aluminum wire into cursive words like “love” or “xo” using needle-nose pliers. Mount to a 12″x12″ canvas painted matte black or deep charcoal. Secure wire ends on the back with hot glue and small nails.
9. Paint Chip Color Fade
Collect free paint chips in a gradient from blush to burgundy. Cut into uniform 2″x4″ rectangles and arrange in an ombre pattern on a foam core board (20″x30″). Adhere with spray mount adhesive and frame without glass for a flat, modern look.
10. Vinyl Wall Decal Heart Cluster
Apply removable matte vinyl decals in varying sizes (2″-6″ diameter) in a scattered pattern above a sofa or bed. Choose a single color for cohesion. These peel off cleanly and won’t damage paint if removed within 12 months.
11. Framed Fabric Swatch
Stretch a 12″x12″ piece of patterned fabric, geometric hearts, abstract florals in reds and pinks, over a canvas stretcher frame. Staple on the back with a staple gun (T50 or Arrow model) and hang as-is for a textile-forward look.
12. Pegboard Interchangeable Display
Mount a 24″x24″ pegboard panel (⅛” or ¼” thick) painted in a soft blush or matte black. Use pegboard hooks and shelves to hang small framed prints, air plants in holders, or LED string lights shaped into hearts. Swap items monthly for other holidays.
13. Concrete Heart Plaque
Mix quick-setting concrete (Quikrete 1004 or similar) and pour into a silicone heart mold (8″ works well). Embed a picture-hanging loop while wet. Once cured (24-48 hours), seal with concrete sealer for a raw, industrial look. Weighs 2-3 lbs, so use a wall anchor rated for 5+ lbs.
14. Dried Flower Shadow Box
Press flowers (roses, baby’s breath) for 1-2 weeks between parchment paper and heavy books. Arrange in a 12″x12″ shadow box frame (1½” depth) with a linen or velvet backing. Secure with acid-free glue dots to prevent yellowing.
15. LED Neon-Style Sign
Purchase a battery-operated LED neon rope light in the shape of a heart or custom word. These consume minimal power (often 3-5W) and mount with adhesive clips. Avoid true neon, which requires professional installation and electrical work.
Best Materials and Supplies for Creating Valentine’s Wall Art
Stock your workspace with the following before starting. Most items are reusable across multiple projects.
Base Materials:
- Plywood or MDF (¼” or ½” thickness) for sign backings
- Canvas stretcher frames in 12″x12″, 16″x20″, or custom sizes
- Foam core board (⅛” or 3/16″ thick) for lightweight projects
- Burlap or linen fabric by the yard
Fasteners and Hardware:
- D-ring hangers, sawtooth hangers, and picture wire (rated for 10-20 lbs)
- Adhesive hooks (3M Command strips work for up to 5 lbs depending on model)
- Toggle bolts or molly bolts for drywall if mounting heavier pieces (3+ lbs)
- Brad nails (1″ or 1¼”) and wood glue for joinery
Finishing Supplies:
- Acrylic craft paint in red, pink, white, and metallics
- Wood stain (Minwax or Varathane in weathered oak, jacobean, or provincial)
- Spray mount adhesive or hot glue gun (dual-temp model preferred)
- Matte or satin polyurethane for sealing wood projects
Tools:
- Jigsaw or coping saw for curved cuts
- Miter saw for cleaner angle cuts on frames (a handsaw and miter box works as an alternative)
- Cordless drill/driver with bits for pilot holes
- Staple gun (manual or electric) for fabric stretching
Many creative home accessories benefit from the same core toolkit, so these supplies carry over to other seasonal projects.
Safety Gear:
Always wear safety glasses when cutting wood or drilling. Use a dust mask (N95 or similar) when sanding or working with spray adhesives in enclosed spaces. Work gloves prevent splinters when handling rough lumber.
Where to Place Valentine’s Wall Decor for Maximum Impact
Strategic placement amplifies visual impact and ensures your work doesn’t go unnoticed.
Living Room:
Position a large statement piece (24″x36″ or bigger) centered above the sofa at 6-8 inches above the cushion line. If you’re using a gallery wall, keep the center point at 57-60 inches from the floor (standard museum height). Combine Valentine’s decor with existing accent wall ideas to layer texture and color.
Entryway or Foyer:
Hang decor at eye level as guests enter, typically 60 inches to the center of the piece. Narrow vertical spaces (12″-18″ wide) suit tall, slim signs or banners. Avoid placing anything within 36 inches of the floor if you have kids or pets, it becomes a grab target.
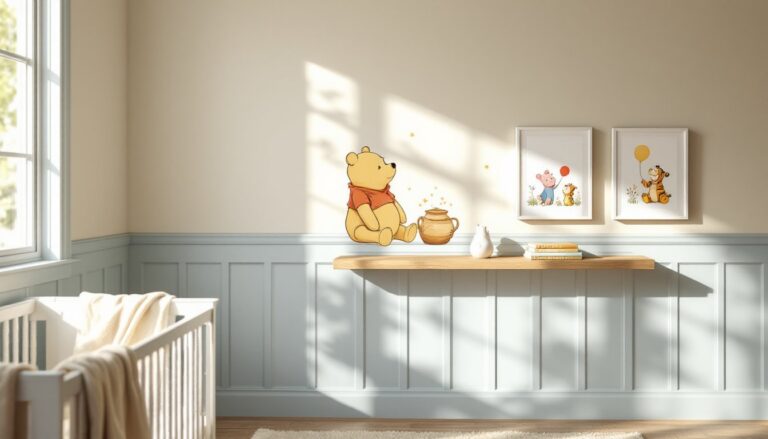
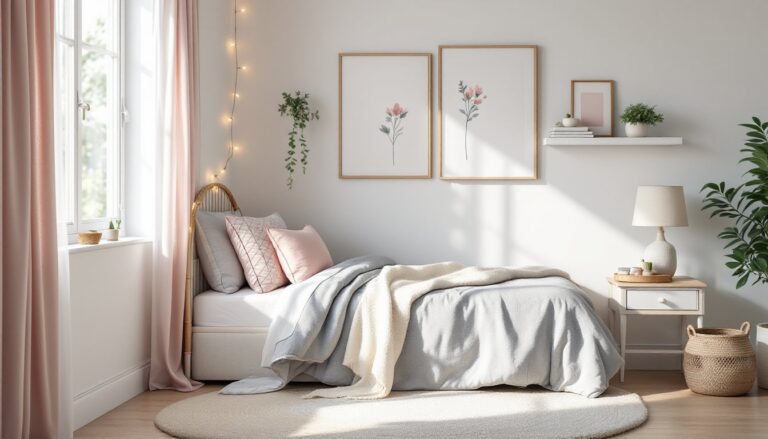
Bedroom:
Mount above the headboard with the bottom edge 4-6 inches above the mattress top. If your headboard is tall (48″+ from the floor), skip wall decor directly above it and place pieces on adjacent walls instead. Side walls flanking the bed work well for symmetrical pairs of framed prints.
Kitchen or Dining Room:
Use open wall space between upper cabinets and countertops if you have at least 18 inches of clearance. In dining rooms, center larger pieces on the wall opposite the main seating area so diners face the decor. Avoid placing anything near stovetops or areas with heavy grease splatter, paint and fabric absorb cooking residue.
Hallways:
Arrange multiple smaller pieces in a linear gallery. Space frames 3-4 inches apart horizontally and align top or bottom edges for a cohesive look. Hallways narrower than 36″ benefit from smaller-scale decor (8″x10″ frames or less) to avoid visual crowding.
Rental-Friendly Options:
Use adhesive strips rated for your wall type (textured vs. smooth). Remove within the manufacturer’s recommended timeframe (usually 12 months) to prevent paint damage. Picture ledges or leaning frames skip wall penetration entirely, rest them on console tables, mantels, or the floor against the wall.
For ideas on budget home makeovers using similar temporary strategies, explore options that layer decor without permanent changes.
Conclusion
Valentine’s wall decor works because it’s low-commitment, adjustable, and doesn’t require contractor-level skills. Whether you’re framing pressed flowers or mounting reclaimed wood, the key is choosing materials that suit your style and placement that respects room proportions. Measure twice, pre-drill pilot holes to avoid splits, and always check that your hangers match your wall type, drywall, plaster, and stud locations all require different fasteners. The result is a seasonal refresh that feels intentional, not accidental.