Table of Contents
ToggleA teenager’s bedroom is more than just a place to sleep, it’s a personal retreat, a creative studio, and a social hub all rolled into one. Wall decor plays a crucial role in defining that space, offering a way to express personality without a full renovation. Unlike younger kids’ rooms that lean on themed bedding or furniture, teen spaces need flexibility. Tastes shift fast at this age, and what feels fresh one semester can look dated by summer break. The right wall treatments strike a balance: impactful enough to anchor the room’s style but adaptable when new interests take over.
Key Takeaways
- Teen girl wall decor serves as a flexible canvas for self-expression that adapts to changing interests without requiring permanent renovations like wallpaper or murals.
- Strategic wall treatments maximize vertical space in compact teen bedrooms, making rooms feel taller and less cluttered while solving practical problems like storage and acoustics.
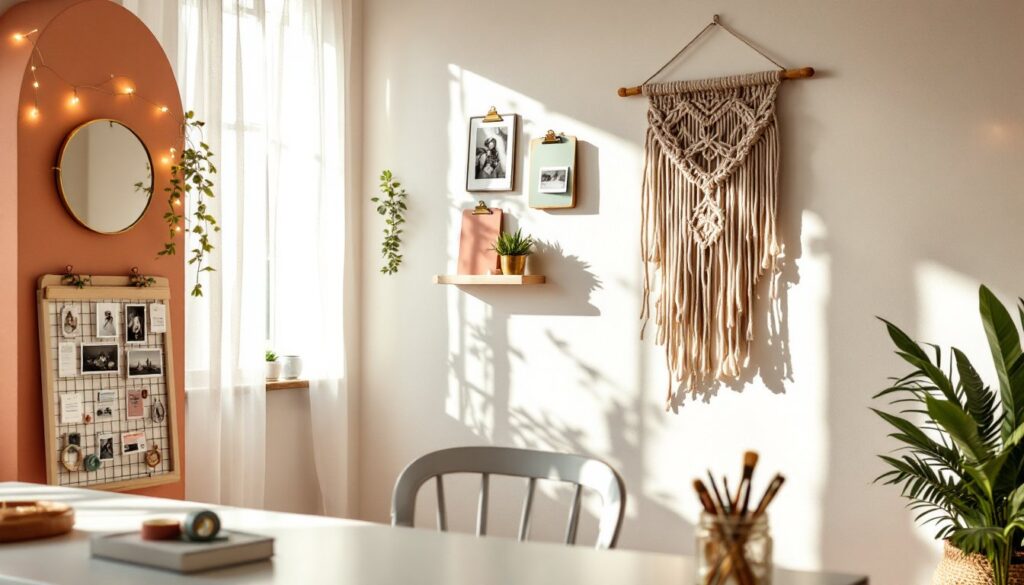
- Popular styles for teen girls range from boho-chic with macramé and woven textures to modern minimalist with geometric shelving and neutral tones, each offering different organizational benefits.
- Budget-friendly wall decor projects like custom photo clipboards, washi tape murals, and thrift store frame upcycles cost under $20 per project and can be customized to match any aesthetic.
- Proper hanging techniques—including the 57–60 inch eye-level rule, 2–3 inch spacing between frames, and using studs for heavy items—ensure a polished gallery wall that looks professionally installed.
- Command strips and removable wall treatments let renters achieve personalized wall decor without damaging paint or losing security deposits.
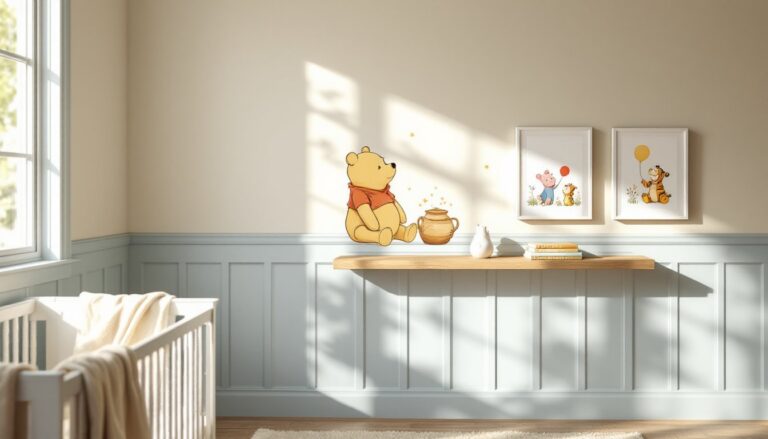
Why Wall Decor Matters for Teen Bedrooms
Walls account for the largest visible surface area in any bedroom, usually 300 to 400 square feet in a standard 12×12 room. That’s a lot of real estate to leave blank. For teens, those surfaces become a canvas for identity. Posters, photos, art prints, and shelving all signal who they are right now, which is why permanent solutions like wallpaper or painted murals often backfire.
Wall decor also solves practical problems. Pegboards organize jewelry and accessories while doubling as visual interest. Floating shelves display collections and trophies without eating floor space. Tapestries or fabric panels soften acoustics in rooms with hard flooring, cutting down on echo during video calls or music practice.
From a design standpoint, vertical surfaces draw the eye upward, making rooms feel taller and more open. Teens often cram a lot into their bedrooms, desk, dresser, bed, seating, so using walls strategically keeps the floor plan from feeling cluttered. A gallery wall or oversized art piece becomes a focal point that ties together mismatched furniture or hand-me-down pieces.
Trendy Wall Decor Styles for Teen Girls
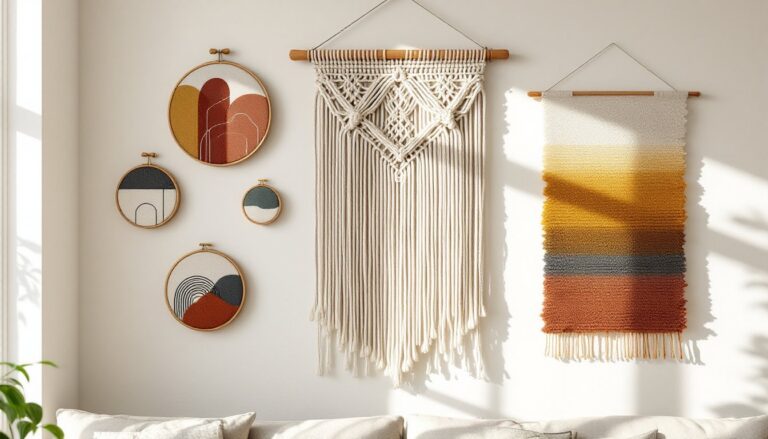
Boho-Chic and Eclectic Vibes
Boho style thrives on layering textures and mixing patterns without strict rules. Think macramé wall hangings, rattan mirrors, woven baskets mounted as art, and string lights draped around frames. The color palette leans warm: terracotta, mustard, sage green, and cream.
Start with a large statement piece, a 3×4-foot tapestry or a trio of macramé pieces in varying lengths. Add smaller elements like dried pampas grass in wall-mounted vases or a collection of vintage plates. The key is asymmetry. Boho doesn’t do perfect grids.
For budget-conscious projects, many teens find inspiration on DIY home decor blogs that show how to repurpose thrift-store finds. An old window frame becomes a photo display. Embroidery hoops stretch fabric scraps into mini art.
Materials to stock: Jute cord for macramé, 1×2 or 1×3 furring strips for mounting larger woven pieces (they distribute weight better than single nails), and adhesive hooks rated for textured walls if renting.
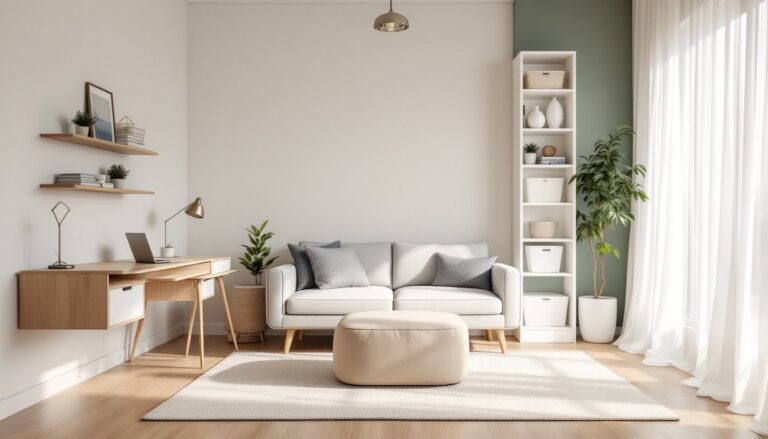
Modern Minimalist and Clean Lines
Minimalist decor strips things down to essentials: neutral tones, simple shapes, intentional negative space. This style works well in smaller rooms where visual clutter makes spaces feel cramped.
A black-and-white photo series in matching frames creates impact without noise. Geometric shelving, think hexagon or ladder-style wall units, displays a curated rotation of a few meaningful objects. LED strip lighting behind floating shelves or along the ceiling perimeter adds dimension without taking up wall surface.
Stick to a tight color story: whites, grays, blacks, with maybe one accent color like blush pink or navy. Frames should match exactly, same finish, same mat width. The modern decor approach often uses gallery-style picture rails that let you swap art without patching nail holes, a smart choice for renters or commitment-phobes.
Tool note: A laser level (even a cheap $15 model) keeps shelf runs and frame lines perfectly horizontal. Eyeballing rarely works as well as you’d hope.
DIY Wall Decor Projects for Teen Girls
Project 1: Custom Photo Clipboards
Grab 9×12-inch clipboards (typically $2-$3 each at office supply stores), spray paint them in coordinating colors, and mount them in a grid. Photos, ticket stubs, and art prints clip on and off in seconds. No frames, no glass, no commitment.
- Lightly sand clipboard surfaces with 120-grit sandpaper to help paint adhere.
- Apply two coats of primer if using dark or metallic paint.
- Spray paint in a well-ventilated area: two light coats beat one heavy coat.
- Mount using 1.5-inch screws into wall studs, or toggle bolts for drywall.
Project 2: Fabric-Backed Corkboard Panels
Corkboard rolls (sold in 2×3-foot or 4×6-foot sheets) let you pin photos, notes, and mementos without damaging walls. Wrapping them in fabric upgrades the look from dorm-room basic to custom decor.
- Cut cork to size using a utility knife and straightedge.
- Cut fabric 4 inches larger than cork on all sides.
- Pull fabric taut and staple to the back edge using a staple gun (Arrow T50 or similar).
- Frame with 1×2 trim if desired, mitering corners at 45 degrees.
- Hang using sawtooth hangers or D-rings rated for the panel’s weight.
Many crafting tutorials show variations using batting between cork and fabric for a padded bulletin board effect.
Project 3: Painted Accent Shapes
Instead of a full accent wall project, paint graphic shapes, circles, arches, or color-blocked sections, directly on the wall. Use painter’s tape (FrogTape or 3M ScotchBlue) to mask crisp edges.
- Sketch the design lightly in pencil or snap a chalk line for straight edges.
- Tape off sections, pressing edges firmly to prevent bleed.
- Roll on paint with a 4-inch foam roller for smooth coverage (two coats minimum).
- Remove tape while the final coat is still slightly tacky for the cleanest lines.
Safety note: Wear nitrile gloves when handling paint and a respirator mask (N95 minimum) if using oil-based or high-VOC products in unventilated spaces.
Budget-Friendly Wall Decor Ideas
Printable Art Downloads
Digital prints cost $3 to $8 per file and print at home on standard 8.5×11-inch cardstock or at office supply stores for under $2 per sheet. Frame them in Ikea Ribba or Knoppang frames ($5-$10) for a curated gallery look without custom framing costs.
Washi Tape Murals
Washi tape (decorative masking tape) comes in hundreds of patterns and peels off cleanly without damaging paint. Use it to create geometric wall designs, frame mirrors, or outline faux headboards. A roll costs $2-$4 and covers roughly 15 linear feet.
String Art
Hammer small finish nails (.75-inch or 1-inch brads) in a pattern on a painted wood board, then wrap embroidery floss or twine to create words, initials, or shapes. Total material cost: under $10 for a 12×16-inch piece.
Thrift Store Frame Upcycles
Hit estate sales or Goodwill for mismatched frames ($1-$3 each). Spray paint them all the same color, matte black, white, or metallic gold, and suddenly they look intentional. Fill with fabric swatches, scrapbook paper, or pressed botanicals instead of traditional photos.
Command Strips for Renters
3M Command Picture Hanging Strips support up to 16 pounds (for the largest variety) and remove without leaving marks. They cost more per use than nails but save the security deposit. Follow weight limits religiously, overloading causes failures and wall damage.
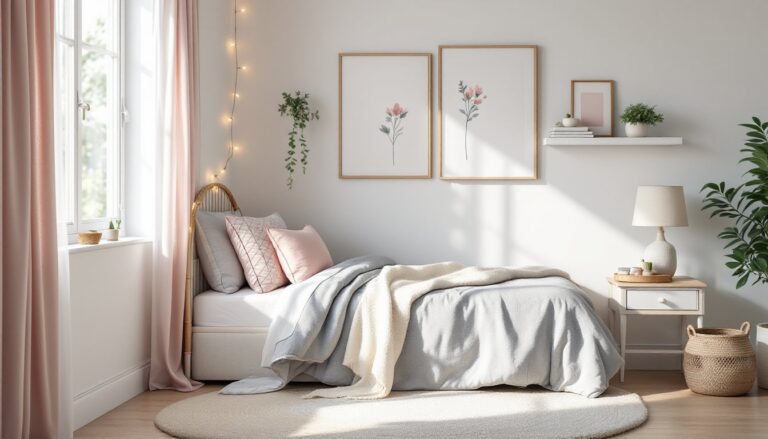
How to Arrange and Hang Wall Decor Like a Pro
Map It Out First
Lay the entire arrangement on the floor in the planned configuration. Snap a photo for reference. Cut kraft paper templates to match each frame or object’s dimensions and tape them to the wall. Adjust until the composition feels balanced. This avoids the “Swiss cheese wall” problem from trial-and-error hanging.
Eye-Level Rule
Center art or galleries so the midpoint sits 57 to 60 inches from the floor, standard gallery height. For pieces hung above furniture, leave 6 to 8 inches between the furniture top and the frame bottom.
Spacing Between Frames
Keep 2 to 3 inches between frames in a gallery wall. Closer feels crowded: wider loses cohesion. Use a scrap piece of cardboard cut to size as a spacer guide.
Finding Studs
Use a stud finder ($10-$30) to locate wall studs, which run vertically every 16 inches on-center in most homes. Heavy items (mirrors over 10 pounds, shelving, large canvases) should anchor into studs with wood screws. For drywall-only hanging, use threaded drywall anchors (E-Z Ancor or similar) rated for the item’s weight.
Leveling as You Go
Check level after driving the first fastener. A 9-inch torpedo level fits easily in a tool belt and catches errors before you add the second hanger. Adjusting a frame 1/8 inch is easier than patching extra holes.
Wire vs. Sawtooth Hangers
Picture wire distributes weight across two points and self-levels. Sawtooth hangers work for lighter frames (under 5 pounds) but hang from a single point, making them prone to shifting. D-rings with wire offer the most stability for medium to heavy pieces.