Table of Contents
ToggleWall mirrors aren’t just for checking your reflection before heading out the door. They’re one of the most versatile design tools homeowners have for manipulating light, expanding visual space, and adding architectural interest to flat walls. Unlike paint or wallpaper, mirrors create depth and dimension while serving a functional purpose. Whether someone’s working with a narrow hallway that feels cramped, a windowless bathroom that needs brightening, or a living room wall that lacks personality, the right mirror placement can solve multiple design problems at once. The difference between a basic functional mirror and one that transforms a room comes down to shape, frame treatment, and strategic placement.
Key Takeaways
- Unique wall mirror decor solves multiple design problems simultaneously by manipulating light, expanding visual space, and adding architectural interest to rooms without requiring renovation work.
- A strategically placed mirror opposite or adjacent to a window can increase natural light distribution by 30-40%, reducing artificial lighting needs and energy costs.
- Statement mirrors measuring 36 inches or larger with distinctive frames or geometric shapes serve as focal points that establish a room’s style direction and anchor the overall design.
- Gallery walls mixing mirrors with art and photos should include 2-3 mirrors maximum with consistent frame families (metal finish or wood tone) to maintain visual cohesion and prevent disorientation.
- Vintage and antique mirrors with patina, beveled glass, and hand-carved frames add irreplaceable character that new pieces cannot replicate, especially when balanced against modern design elements.
- DIY mirror projects like framing builder-grade mirrors or creating window-pane grids deliver high-end decor looks for $30-50 while requiring only basic tools and home-center materials.
Why Wall Mirrors Are Essential for Modern Home Decor
Mirrors deliver measurable results in three key areas: light reflection, spatial perception, and focal point creation. A well-placed mirror opposite or adjacent to a window can increase natural light distribution by 30-40%, reducing the need for artificial lighting during daylight hours. This isn’t just aesthetic, it affects energy costs and mood.
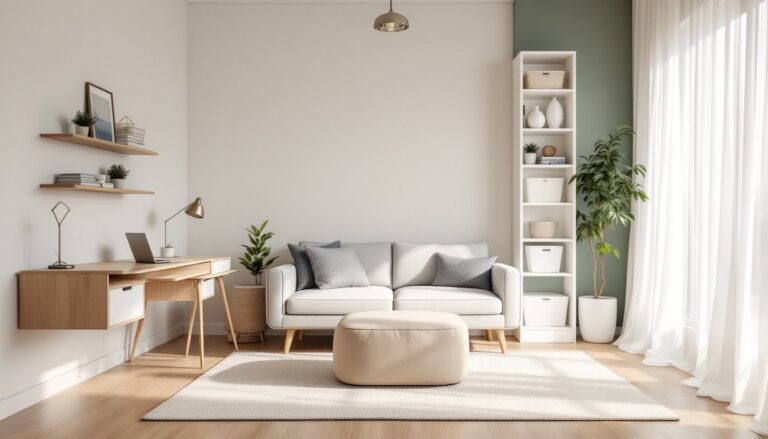
From a spatial standpoint, mirrors create the illusion of depth by reflecting the room back on itself. In tight spaces like powder rooms (often 5×5 feet or smaller per IRC minimum requirements), a large mirror can make the difference between claustrophobic and comfortable. The reflection tricks the eye into perceiving more square footage than actually exists.
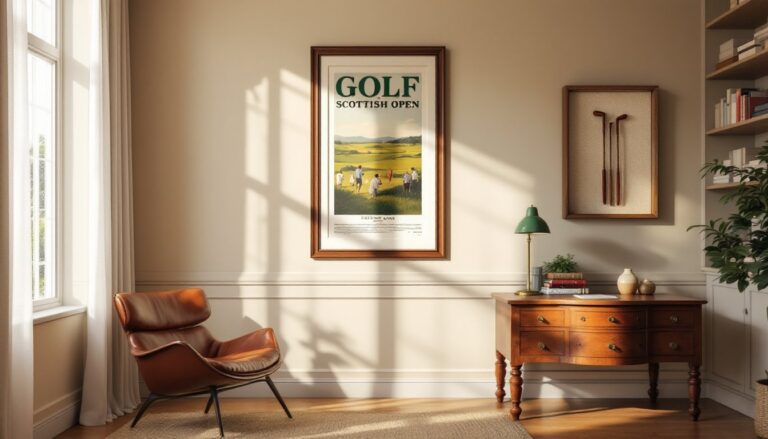
Architecturally, mirrors function as three-dimensional art. Unlike flat artwork, they change based on viewing angle and what’s reflected. This dynamic quality keeps a space from feeling static. For rooms with minimal architectural detail, think builder-grade boxes with flat walls and standard trim, a decorative mirror adds the visual complexity that crown molding or wainscoting would provide, but without the carpentry work or permit requirements.
Statement Mirrors That Command Attention
A statement mirror typically measures 36 inches or larger in at least one dimension and features a frame or shape distinctive enough to anchor a room’s design. These aren’t subtle accents, they’re conversation pieces that establish a room’s style direction.
Oversized geometric mirrors work particularly well above sofas, beds, or console tables where the scale creates impact without overwhelming furniture below. Look for hexagons, arched tops, or asymmetric shapes that break up the standard rectangle-dominated wall plane. Frame depth matters here: a 2-4 inch profile creates shadow lines that emphasize the shape, especially with directional lighting.
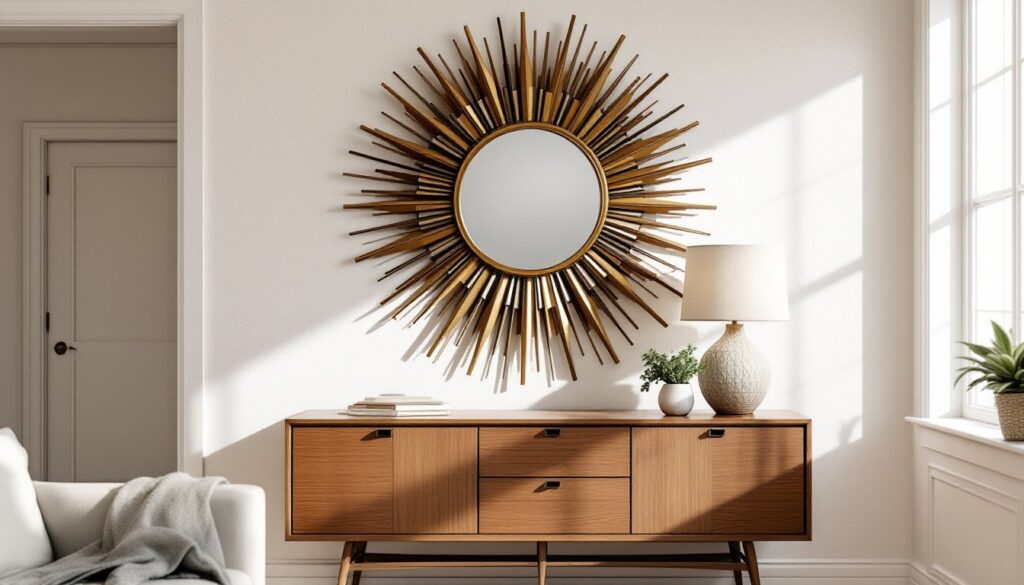
Sunburst and starburst designs remain popular for good reason. The radiating pattern draws the eye inward to the mirror center while the dimensional rays (usually metal or wood) create texture. These work best on walls with breathing room, at least 12 inches of clearance on all sides prevents the design from feeling crowded.
Industrial-style mirrors with metal frames (often blackened steel or brass) complement exposed brick, concrete, or reclaimed wood. The 1-3 inch frame width provides enough structure to feel substantial without competing with the mirror surface. Many homeowners find these versatile enough to span modern farmhouse, urban loft, and contemporary styles.
When mounting statement mirrors over furniture, maintain 4-8 inches between the furniture top and mirror bottom. For floor-mounted leaning mirrors (popular in bedrooms and entryways), ensure the wall attachment includes two anchors into studs at the top to prevent tipping, particularly important in homes with kids or pets.
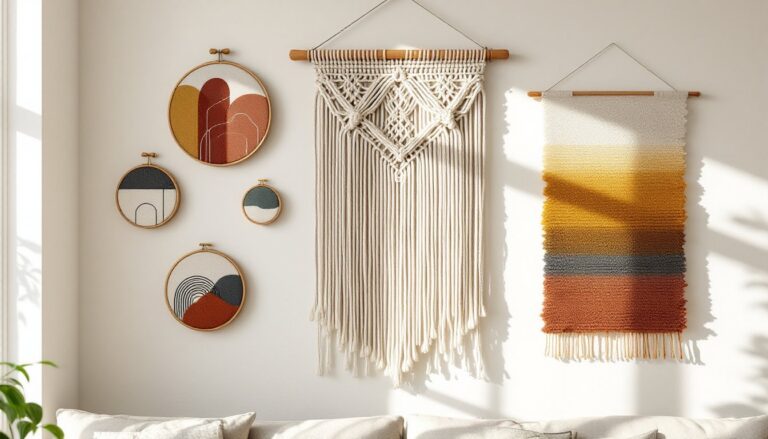
Creating Gallery Walls with Mirror Collections
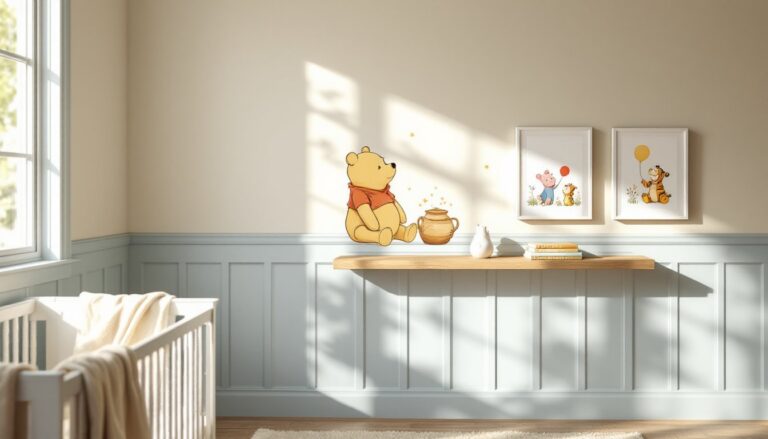
Gallery walls traditionally feature art and photos, but mixed-media walls incorporating mirrors add reflective variety that keeps the eye moving. The key is treating mirrors as one element in a larger composition, not the dominant feature.
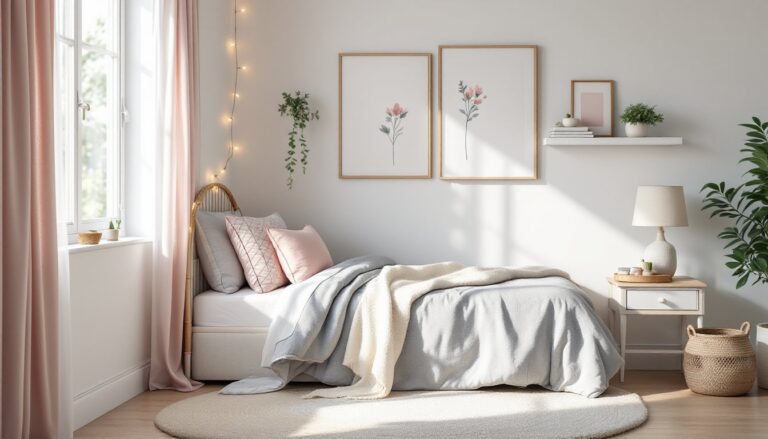
Start with an anchor piece, typically the largest mirror or a bold frame design, and build around it using the “triangle rule”: arrange pieces so the visual weight forms triangular patterns across the wall. This creates balance without rigid symmetry. For a 6-8 piece gallery, include 2-3 mirrors maximum. More than that, and the wall becomes disorienting rather than interesting.
Frame coordination doesn’t mean matching. Choose a unifying element, similar metal finish, wood tone, or frame width, while varying shapes and sizes. Mixing round, rectangular, and vintage ornate frames within a brushed gold or matte black family creates cohesion with interest.
Before putting holes in the wall, map the layout on the floor or use kraft paper templates taped to the wall. Maintain 2-4 inches between pieces for breathing room. Tighter spacing reads cluttered: wider gaps lose visual connection. For hanging, use appropriate wall anchors: toggle bolts or molly bolts in drywall, or screw directly into studs for pieces over 10 pounds.
Lighting makes or breaks gallery walls with mirrors. Avoid direct light hitting mirror surfaces at sharp angles, which creates glare. Instead, use diffused light sources or position gallery walls perpendicular to windows. This way mirrors catch indirect light without blinding viewers.
Vintage and Antique Mirror Styles for Character
Vintage mirrors bring age and texture that new pieces can’t replicate. The patina on old glass, those cloudy spots and darkened edges, results from silvering degradation where the reflective backing has oxidized over decades. This imperfection is exactly what makes them valuable for adding character.
Architectural salvage yards and estate sales are prime hunting grounds. Look for beveled glass (common in pieces from the 1920s-1940s), hand-carved wooden frames, or gilt plaster details that indicate handmade construction. A genuine antique weighs noticeably more than modern mirrors due to thicker glass and solid wood framing.
French provincial and baroque styles feature ornate frames with scrollwork and heavy detailing. These work surprisingly well in modern spaces when used as intentional contrast, a heavily gilded mirror against clean white shiplap creates tension that elevates both elements. Similar approaches that balance vintage elements with contemporary spaces demonstrate how period pieces prevent rooms from feeling too sterile.
Condition assessment is critical. Minor silvering loss is desirable for character, but structural damage to frames requires repair skills. Loose corners need corner braces or wood glue reinforcement. Damaged gilt can be touched up with gilt wax or liquid leaf products, though purists prefer leaving original finishes intact.
For hanging heavy vintage pieces (20+ pounds is common), locate studs with a stud finder and use 3-inch wood screws driven at least 1.5 inches into the stud. Picture wire alone isn’t sufficient, install D-rings on both sides of the frame back, one-third down from the top, connected with braided steel wire rated for twice the mirror’s weight.
DIY Mirror Decor Projects for Budget-Friendly Impact
Custom mirror projects deliver high-end looks at fraction-of-retail costs. Most require basic tools and materials available at home centers.
Frame a builder-grade mirror: Basic frameless mirrors from discount stores ($15-30 for 24×36 inches) become designer pieces with added trim. Cut 1×4 or 1×6 pine boards to size using a miter saw for clean 45-degree corners. Sand with 120-grit then 220-grit sandpaper, prime, and paint or stain. Attach to the wall around the mirror using construction adhesive and finish nails. Total cost runs $30-50 versus $200+ for comparable framed mirrors.
Create a window-pane mirror: This technique mimics vintage factory windows. Purchase individual mirror tiles (typically 12×12 inches, sold in packs at home centers) and build a grid frame using 1×2 lumber. The frame sections create muntins between mirror squares. Secure mirrors in place with mirror adhesive rather than mechanical fasteners, which can crack glass. Finish the frame to match room trim. Many DIY furniture and decor projects follow similar construction methods using basic lumber and paint.
Rope or chain hanging system: For casual or coastal looks, replace standard wire with 3/8-inch manila rope or decorative chain. Drill holes through the top corners of wooden frames (not through mirror glass), thread rope, and tie figure-eight knots on the back side. Mount from ceiling hooks or wall cleats.
Safety note: Always wear safety glasses when cutting or drilling near mirrors. Glass shards from dropped or cracked mirrors are razor-sharp. When working with mirror adhesive, ensure adequate ventilation, most formulas contain solvents. Allow 24-48 hours cure time before hanging.
Placement Tips to Maximize Light and Space
Strategic mirror placement follows physics and sightlines. Poor positioning wastes the mirror’s potential or creates annoying reflections.
Across from or adjacent to windows: This is the primary rule for light maximization. A mirror directly opposite a window reflects natural light back into the room, effectively doubling the light source’s impact. Adjacent placement (on the wall perpendicular to the window) bounces light sideways, filling dark corners. Avoid placing mirrors where they’ll reflect direct midday sun, that creates glare and heat buildup.
At the end of hallways: Long, narrow corridors feel less tunnel-like with a mirror at the terminus. The reflection creates perceived depth and prevents the “dead end” feeling. For maximum effect, mount at eye level (57-60 inches to the center) rather than floor-to-ceiling, which can feel disorienting.
Behind light sources: Positioning mirrors behind table lamps, sconces, or candles amplifies their illumination. The reflection doubles the visible light while creating ambient glow. This works particularly well in dining rooms and entryways where atmospheric lighting matters.
Avoid direct sightlines to toilets or beds: While mirrors in bathrooms and bedrooms serve functional purposes, angling them so they don’t reflect these specific fixtures feels less intrusive. Many homeowners find it unsettling to see their bed reflected when entering the room.
For height placement, the general rule is center at 57-60 inches from the floor, this is gallery standard and works for average ceiling heights of 8-9 feet. In rooms with 10+ foot ceilings, hanging higher (up to 65-70 inches) prevents mirrors from feeling low and squat. Whatever height chosen, ensure the bottom edge aligns with other elements in the room, top of wainscoting, window headers, or furniture heights, for visual cohesion.
Conclusion
Unique mirror decor transforms homes through strategic light manipulation and spatial enhancement that other design elements can’t match. Whether someone opts for a statement piece, vintage find, or DIY project, success comes down to appropriate scale, secure mounting, and placement that considers natural light patterns and sightlines. The most effective mirror installations feel intentional rather than decorative, serving both form and function while reflecting the homeowner’s style preferences.